
A rental kitchen can look clean at first glance and still fail a move-out inspection. Grease settles above the stove, crumbs hide in drawer tracks, and appliance interiors often receive more attention than tenants expect. Knowing how to clean rental kitchens thoroughly helps you leave the space in good condition, document your work, and avoid last-minute stress before handing over the keys.
The goal is not to make an older kitchen look brand new. Normal wear, faded finishes, and long-standing damage are different from dirt or neglect. Your job is to remove the buildup you created during your tenancy and return the kitchen to the condition required by your lease, allowing for reasonable wear and tear.
How to clean rental kitchens before inspection
Start by reading your lease and any move-out instructions from the property manager. Some rentals require appliances to be cleaned inside and out, while others identify specific expectations for the refrigerator, range hood, cabinets, or floors. If your landlord provided a move-in condition report, compare the kitchen to the notes and photos from that day.
Next, take clear photos before you begin. This may seem unnecessary when you are busy packing, but it gives you a record of existing damage, stains, chipped surfaces, or appliance issues. Take another set of photos after cleaning, especially of the oven, refrigerator, sink, countertops, and floors.
Remove everything from the kitchen before cleaning. Empty cabinets, drawers, the refrigerator, pantry shelves, and the space under the sink. Working around dishes, food containers, and small appliances makes it easy to miss sticky spills and grease along the edges.
Gather supplies that are effective without being overly harsh on rental surfaces:
- Microfiber cloths, non-scratch sponges, and a soft scrub brush
- Dish soap, an all-purpose cleaner, and a degreaser suitable for kitchen use
- Baking soda for odor control and gentle scrubbing
- A vacuum with a crevice tool or broom and dustpan
- A mop and floor cleaner matched to the flooring material
Avoid using steel wool, abrasive powders, or strong chemicals unless the product label confirms they are safe for the surface. Scrubbing too aggressively can scratch stainless steel, dull laminate, strip cabinet finishes, or damage a glass cooktop. When in doubt, test a small hidden area first.
Work from high surfaces to the floor
A systematic order prevents you from cleaning the same area twice. Begin with ceiling vents, light fixtures, and the tops of cabinets. Dust and grease can combine into a sticky film in these overlooked areas, particularly near the stove.
Wipe cabinet fronts, handles, drawer pulls, and the backsplash next. A warm solution of dish soap and water is often enough for light residue. For heavier grease, apply a kitchen-safe degreaser according to the label, allow it to sit briefly, then wipe with a damp cloth and dry the surface. Do not soak cabinet seams or particleboard edges, since excess water can cause swelling.
Clean inside every cabinet and drawer after the contents are removed. Vacuum crumbs from corners and tracks, then wipe shelves, drawer bottoms, and interior walls. Check for shelf liners, adhesive hooks, contact paper, and tape residue. Removing these items carefully is part of a proper move-out clean, but stop if the finish begins to lift. Existing damage should be documented rather than made worse.
Clean appliances with care
Appliances are where rental kitchen cleaning becomes more detailed. Plan extra time for them. An oven that looks fine with the door closed may have baked-on grease along the racks, door glass, and interior walls.
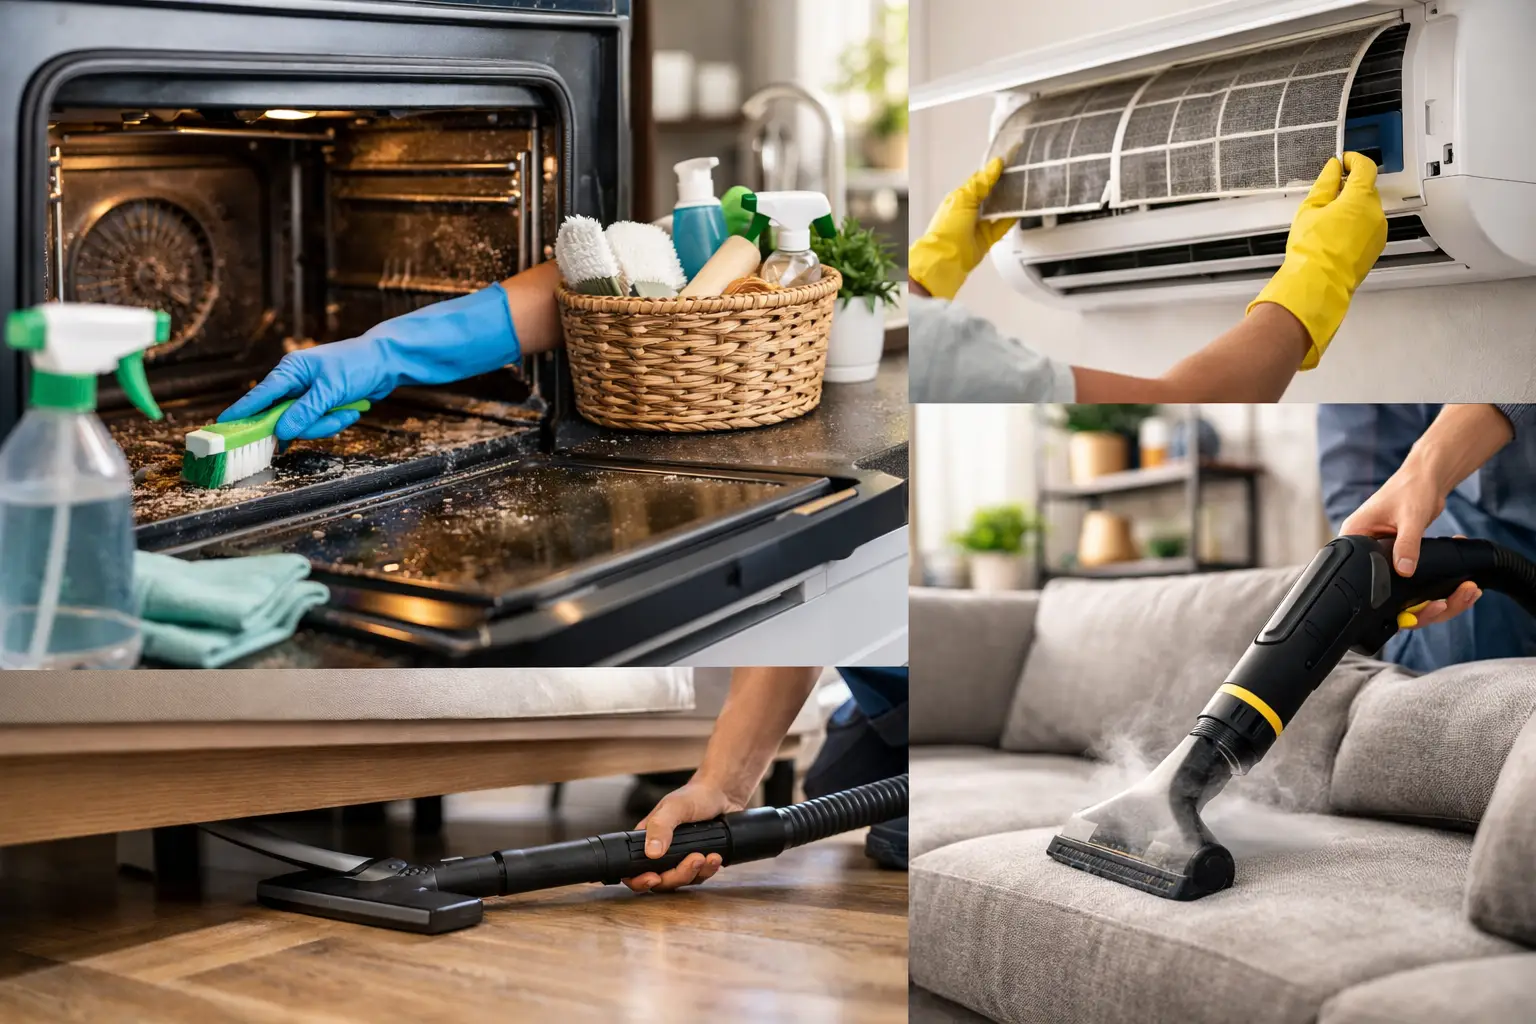
For the oven, remove racks and soak them if the manufacturer permits it. Use a suitable oven cleaner or a baking soda paste for lighter buildup, following product directions closely. Wipe away residue completely, clean the inside of the door, and do not forget the drawer beneath the oven. If your range has a self-cleaning setting, use it only if the property manager and manufacturer instructions allow it. The cycle creates very high heat and can produce strong odors or smoke in a poorly ventilated unit.
Clean the stovetop based on its material. Lift removable burner grates and drip pans, wash them separately, and wipe under the burners where food often collects. For glass or ceramic cooktops, use a non-abrasive cleaner and soft cloth. A razor scraper may be appropriate for burned-on spots only when designed for that surface and used carefully at a low angle.
The range hood deserves attention because it collects grease that can spread to surrounding cabinets. Wipe the hood exterior, underside, controls, and filter area. If the filter is removable and washable, clean it according to the manufacturer’s instructions. Grease buildup here is common, and a clean filter makes a noticeable difference during an inspection.
Empty the refrigerator completely, including drawers and door bins. Throw away food, remove loose shelves, and wash each removable piece with warm soapy water. Wipe the interior walls, seals, handles, and top of the refrigerator. Dry everything before reassembling it. Leave the door slightly open if the unit will be turned off after you move out, but only if your property manager has instructed you to do so.
Do not overlook the microwave, dishwasher, and any included small appliances. Clean the microwave interior, turntable, door edges, and vent area. For the dishwasher, remove debris from the filter if accessible, wipe the door seal, and check the utensil basket. A short cleaning cycle with a dishwasher-safe cleaning product can help with odors, but it will not replace removing visible food debris.
Finish the sink, counters, and floors
Clean countertops after appliances and cabinets so you can remove any dust or residue that falls during the process. Use a product that matches the material. Natural stone, laminate, stainless steel, and solid-surface counters have different care needs, and the wrong cleaner can leave permanent marks.
Scrub the sink, faucet, handles, drain cover, and backsplash. Mineral deposits around the faucet may need a gentle descaling product, while food residue in the drain may respond to hot water and a sink-safe cleaner. Never mix cleaning products, especially bleach with ammonia or acidic cleaners. If there is a slow drain, leak, or disposal problem that was not caused by you, report it instead of attempting a repair.
Finish with the floor. Vacuum or sweep first, paying close attention to the toe kicks beneath cabinets, corners, and behind appliances if they can be safely moved. Then mop using the correct amount of cleaner. Too much water can damage laminate, wood, and some vinyl floors, while a dirty mop can leave streaks behind.
Check the details renters often miss
Before your final walkthrough, stand in the kitchen doorway and inspect it as someone else would. Open the cabinets, look at handles from different angles, and check the inside edges of the refrigerator and oven. Turn on the kitchen light to spot greasy fingerprints, crumbs, and streaks.
Pay special attention to outlet covers, switch plates, door frames, baseboards, vents, window sills, and the wall behind the trash can. These small areas can affect how finished the room looks. Also remove all trash, recycling, and cleaning supplies. A freshly cleaned kitchen should be empty, dry, and ready for the next resident.
If the kitchen has years of grease, an especially dirty oven, or limited time before your move-out date, professional help can be a practical choice. Get It Done Cleaning Services provides detail-focused move-in and move-out cleaning for renters and property owners who need reliable support with demanding spaces. The right cleaning plan gives you time to focus on your move while the kitchen receives the attention it needs.
A careful final pass is worth the effort. Take your after-cleaning photos, keep copies of your communication with the property manager, and leave the kitchen as clean and cared for as you would hope to find your next one.