The last box is taped shut, the truck is booked, and there is still a greasy oven, dusty baseboards, and a bathroom that needs more than a quick wipe. This tenant cleaning deposit protection guide helps you focus on the work that can affect your final inspection, while avoiding wasted effort on normal wear and tear.
A move-out clean is not about making an older rental look brand new. It is about returning the space in a reasonably clean condition, meeting the standard in your lease, and leaving a clear record of how you left it. That distinction can make a stressful handover far more manageable.
Start With Your Lease and the Move-In Record
Before buying supplies or booking help, read the cleaning and move-out terms in your lease. Look for requirements about carpets, appliances, garbage removal, keys, parking passes, smoke detectors, and repair responsibilities. A lease may require professional carpet cleaning in certain situations, but the wording matters. Do not assume a routine clause means you must pay for work that is not relevant to the condition of the unit.
Next, pull out your move-in inspection report, photos, emails, and any maintenance requests you submitted during your tenancy. These records establish what was already worn, stained, damaged, or missing when you arrived. A faded countertop, scuffed paint, or aging caulk may be ordinary use rather than something a tenant should be charged to restore.
Cleaning and damage are separate issues, although they are often discussed together. Food residue in an oven, pet hair throughout a unit, or trash left behind can usually be addressed with cleaning. A broken fixture, unauthorized alteration, or burn mark may require a different conversation. Keep your documentation organized so the facts are easy to follow.
For renters in Ontario, the language around a “security deposit” can be confusing. Ontario generally does not permit damage deposits, though landlords may collect a rent deposit for the last rental period. Rules vary by jurisdiction, so use your lease and local tenancy guidance to understand what charges or claims may apply to your situation.
Build a Move-Out Cleaning Plan That Holds Up
The best approach is systematic. Clean one room completely before moving to the next, starting with areas that are empty. Working around furniture and boxes creates missed spots, while an empty room makes marks, dust, and debris much easier to see.
Kitchen: Focus on Grease and Food Residue
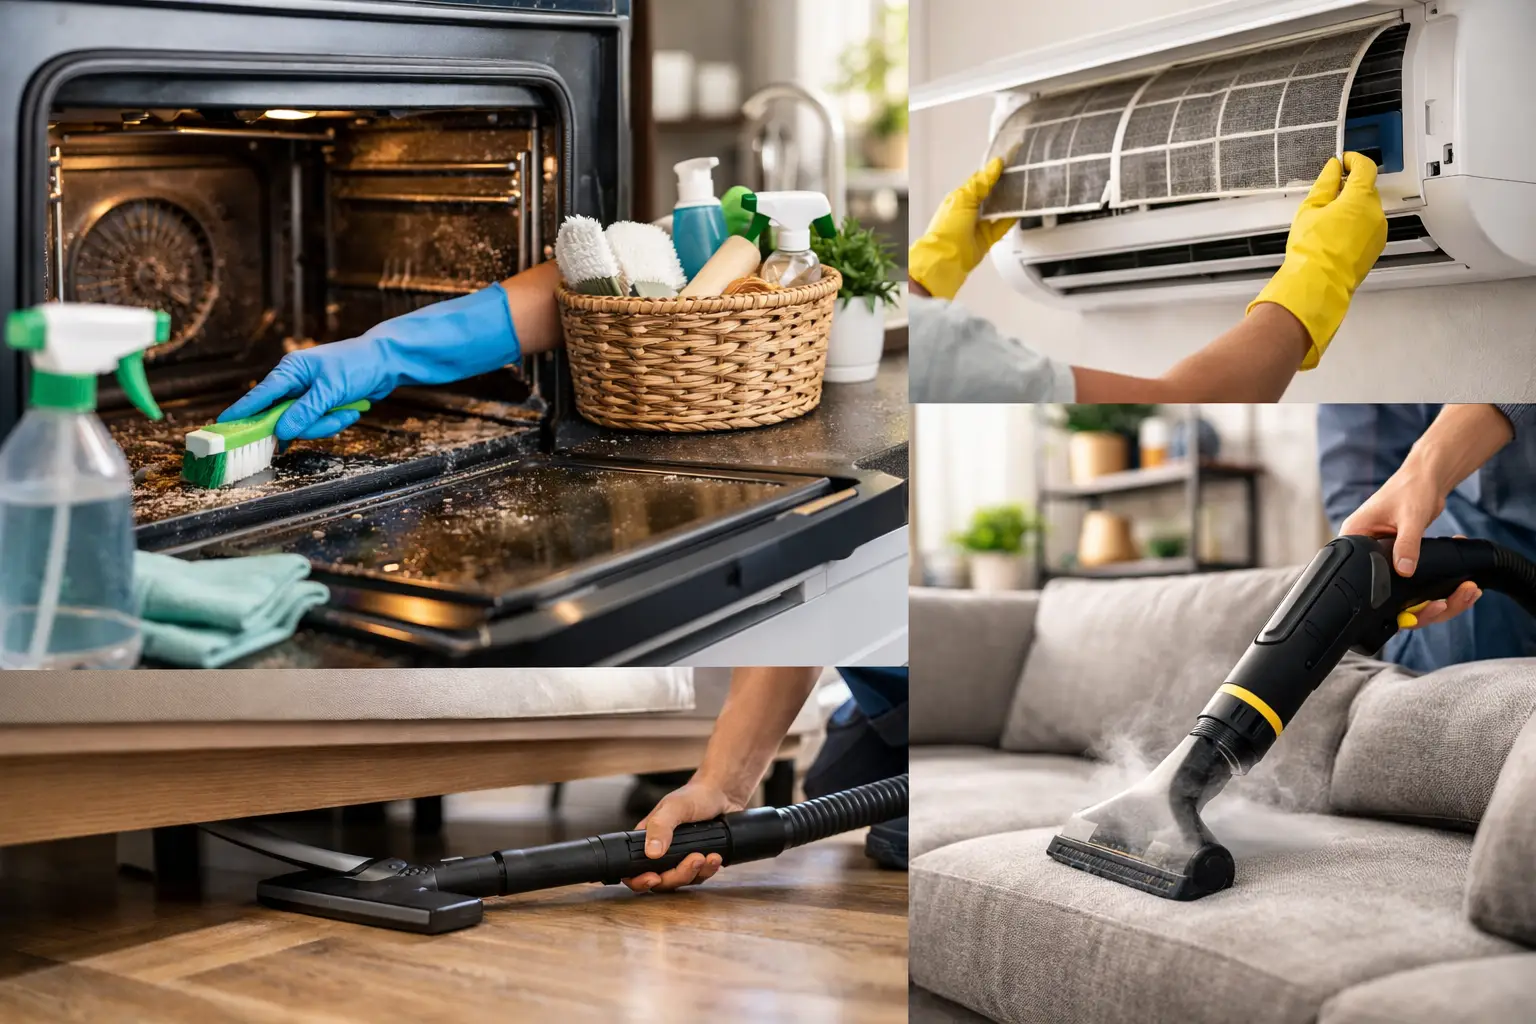
Kitchens receive close attention because residue is obvious and can attract pests. Empty every cabinet and drawer, then vacuum crumbs before wiping interiors. Degrease the range hood, stovetop, backsplash, oven door, and the area beside appliances. Pull out the refrigerator if it is safe to do so, clean underneath and behind it, and wipe the rubber door seals.
Defrost and empty the freezer if required, then clean the refrigerator shelves and drawers. Run the dishwasher empty after clearing the filter. Do not overlook the sink drain, faucet base, cabinet fronts, and handles. These small details often separate a surface-level clean from a move-out-ready kitchen.
Bathrooms: Remove Buildup, Not Just Surface Dirt
Soap scum, mineral deposits, hair, and residue around toilet bases are common inspection concerns. Clean the shower walls, tub, glass, grout lines, faucets, toilet, vanity, mirror, and exhaust fan cover. Wipe inside drawers and cabinets, including the space beneath the sink.
Use products that suit the surface. Harsh abrasives may damage acrylic tubs, stone counters, or delicate finishes. If buildup has been sitting for months, allow a cleaner to dwell as directed before scrubbing instead of using excessive force. The goal is a clean surface, not a scratched one.
Floors, Walls, and Details
Vacuum thoroughly before mopping hard floors, including edges, corners, closets, and beneath removable appliances. Treat carpet stains carefully and keep receipts if you arrange professional carpet cleaning. If a stain or odor cannot be fully removed, documenting your attempt is still better than leaving it unaddressed.
Spot-clean walls only when the paint can handle it. Aggressive scrubbing can leave shiny patches or remove paint, creating a larger issue than the original mark. Dust baseboards, vents, blinds, window tracks, light fixtures, doors, and trim. Replace burned-out bulbs where the lease makes that your responsibility, and remove adhesive hooks only if you can do so without damaging the wall.
Use a Final Walk-Through Checklist
A written checklist prevents the most common move-out mistakes: forgotten storage spaces, overlooked trash, and cleaning only what is visible at eye level. Before handing over keys, confirm that you have completed these final tasks:
- Remove all personal belongings, garbage, recycling, and food from the unit, balcony, storage locker, and mailbox.
- Wipe appliance interiors and exteriors, including the oven, refrigerator, microwave, dishwasher, and laundry machines if provided.
- Clean inside cabinets, drawers, closets, and medicine cabinets.
- Vacuum or sweep all rooms, then mop appropriate hard surfaces.
- Check vents, light switches, door handles, window sills, and baseboards for dust or fingerprints.
- Return keys, fobs, remotes, parking passes, and any other property listed in your lease.
Finish with a slow walk through the unit in daylight. Stand in each doorway and look across the room. This simple angle reveals streaks on floors, dust on ledges, cobwebs in corners, and items left in closets more reliably than rushing from task to task.
Document the Condition Before You Leave
Photos are one of the most practical forms of deposit protection. Take clear, time-stamped images after cleaning, not just before you move in. Photograph each room from several angles, then capture close-ups of appliances, sinks, tubs, floors, windows, closets, and any existing damage.
Video can be helpful as an extra record, especially when you slowly show an empty room from wall to wall. Still photos are often easier to reference later, so use both if possible. Keep copies of cleaning receipts, carpet service invoices, communication with your landlord or property manager, and the final inspection report.
If you can attend a move-out inspection, do it. Ask for any concerns to be identified specifically and recorded in writing. If the property manager says an area needs attention, take a photo and ask whether you have an opportunity to correct it before the handover is finalized. A calm, prompt response can prevent a minor issue from becoming a dispute.
When Professional Move-Out Cleaning Makes Sense
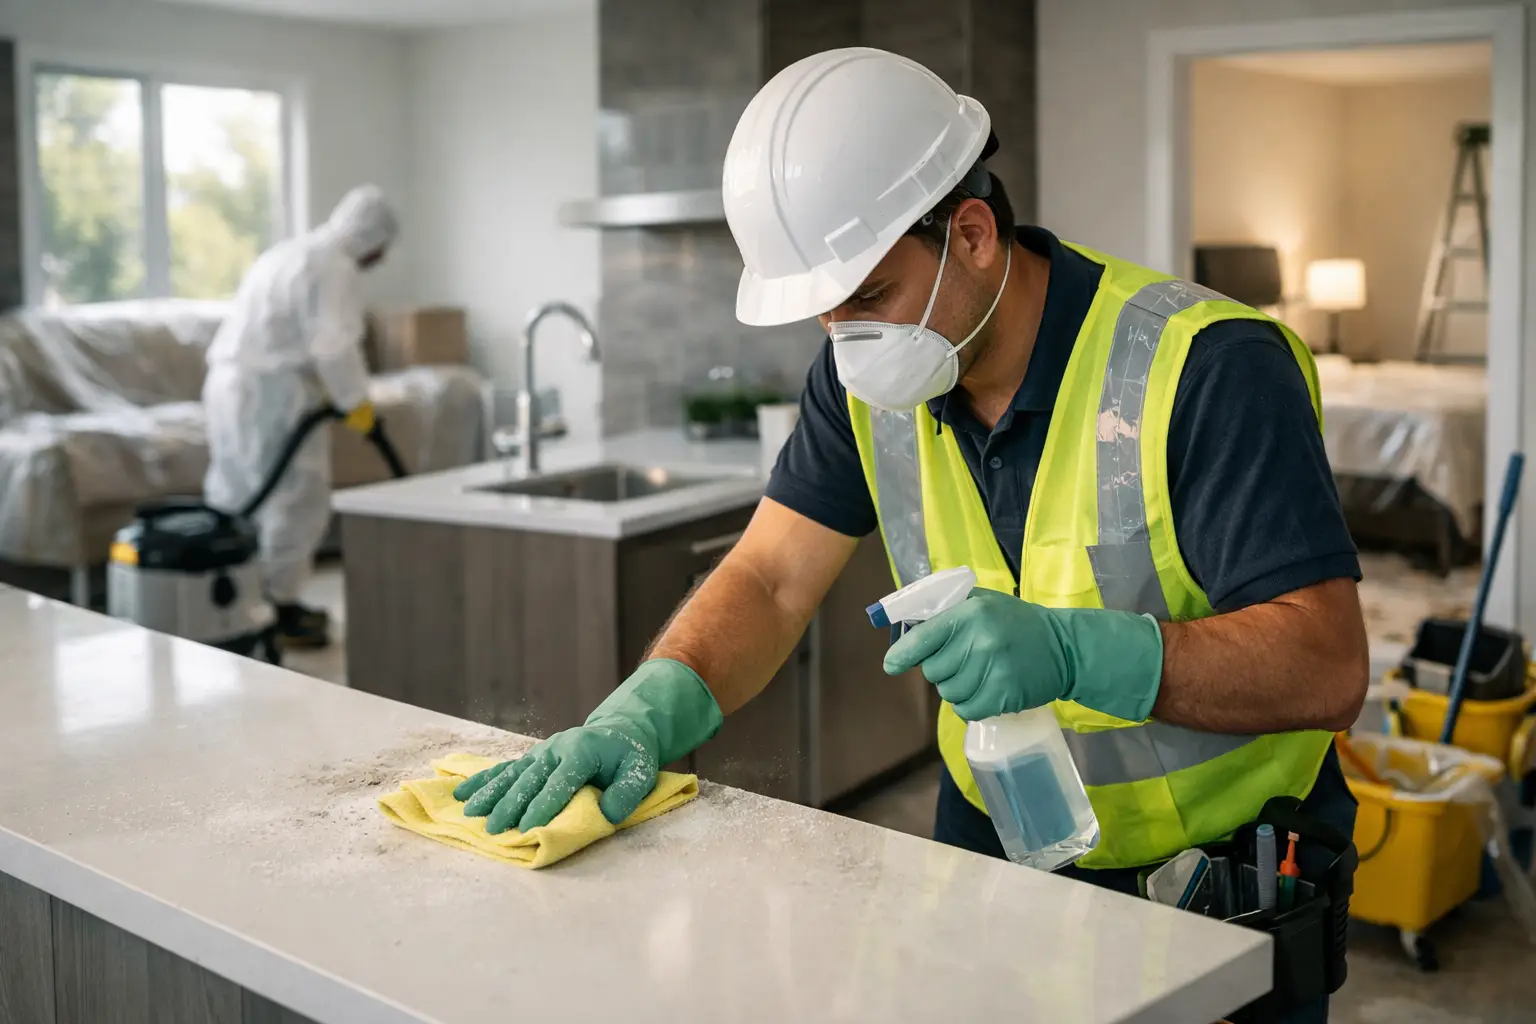
DIY cleaning can work well for a small, well-maintained rental when you have enough time and the right equipment. Professional help can be the better value when the unit is large, heavily soiled, recently renovated, occupied by pets, or subject to a tight move-out deadline. It is also useful when you need carpet or upholstery cleaning, appliance detailing, or a more thorough reset than household products can deliver.
If you hire a service, choose one with a clear scope of work. Ask what is included for kitchens, bathrooms, floors, inside appliances, cabinets, and high-touch details. A vague promise of a “deep clean” can lead to mismatched expectations. A detailed checklist gives you a stronger basis for confirming the work before inspection.
For Hamilton-area tenants, Get It Done Cleaning Services can provide a detailed move-out cleaning plan built around the condition of the home and the tasks that need attention. Trained, insured cleaners and eco-conscious products can help make a demanding move feel more controlled, particularly when time is short.
Handle Disagreements With Facts, Not Assumptions
If you disagree with a cleaning-related charge or claim, respond in writing and keep the conversation specific. Refer to your photos, inspection report, receipts, and lease terms. Ask for an itemized explanation of the concern, including what work was performed and why the charge is being requested.
Avoid admitting responsibility simply because a landlord or manager raises an issue. At the same time, do not dismiss a legitimate concern that you can resolve quickly. The fair outcome often depends on the condition at move-in, the condition at move-out, the lease language, and whether the issue goes beyond normal use.
A clean, documented handover gives you more than a better chance of protecting your money. It lets you close the door on one home with confidence and put your energy toward settling into the next one.