
Construction dust has a way of showing up everywhere – inside cabinet drawers, on top of door frames, under appliances, and across surfaces that looked untouched during the project. Knowing how to remove construction dust properly matters because rushing in with a broom or household vacuum can send fine particles back into the air, leaving your newly finished space looking hazy and feeling gritty.
Whether you have completed a kitchen update, finished basement, office renovation, or a full remodel, a careful post-construction cleanup helps protect your floors, furnishings, air quality, and final results. The key is to clean in the right order, use equipment designed to capture fine dust, and allow enough time for settled particles to reveal themselves.
Start by Letting Dust Settle
If contractors have just finished cutting, sanding, drilling, or removing debris, avoid starting the final clean immediately. Fine drywall compound, wood dust, grout haze, and insulation particles can remain suspended in the air for hours. Cleaning too soon often means doing the same work twice.
Open windows if weather and site conditions allow, but do not create strong cross-breezes that move dust into rooms that were not affected. If the HVAC system has been running during construction, turn it off while you clean and plan to replace or inspect the filter before turning it back on. Otherwise, the system may circulate dust throughout the building.
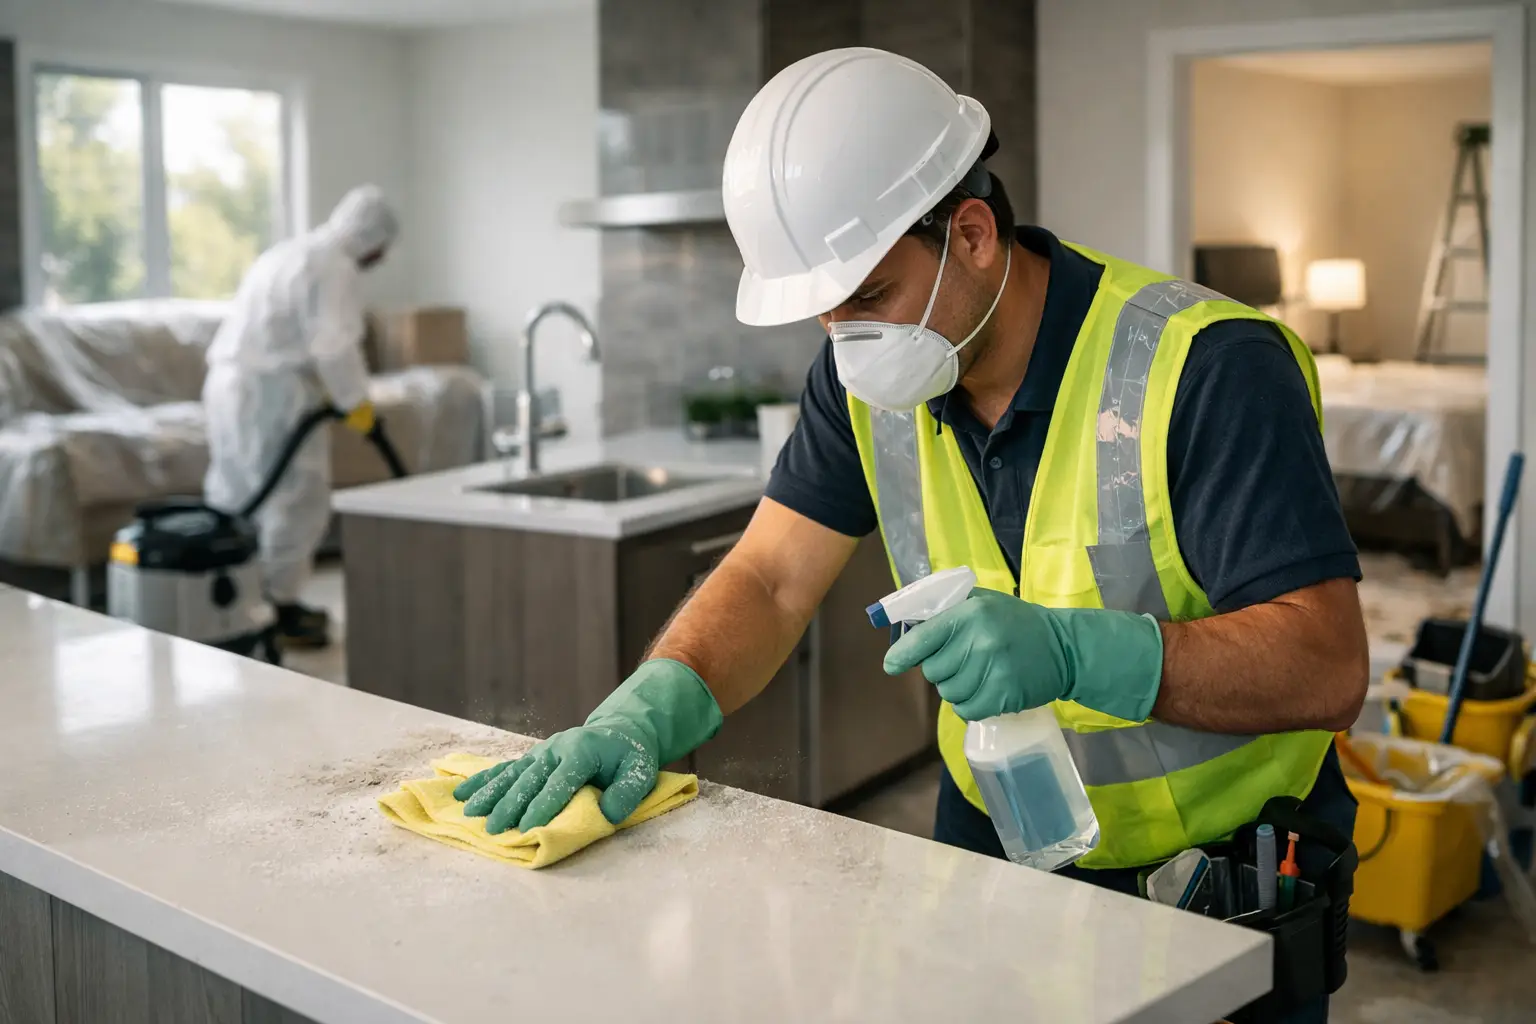
Before touching the dust itself, remove larger renovation waste such as cardboard, protective plastic, scrap materials, nails, tape, and packaging. Check the floor carefully for sharp debris. Wearing closed-toe shoes, gloves, and a well-fitted dust mask is a sensible precaution, especially after drywall work, concrete cutting, or demolition.
How to Remove Construction Dust in the Right Order
Construction cleaning is a top-to-bottom job. Gravity will keep working while you clean, so starting with floors only guarantees that dust from higher surfaces will land there again.
Begin with ceilings, light fixtures, vents, crown molding, upper shelves, window frames, and the tops of cabinets. Then work down walls, doors, counters, baseboards, and lower furniture before finishing with floors. Move methodically from the farthest point of the room toward the exit so you are not walking across areas you have already cleaned.
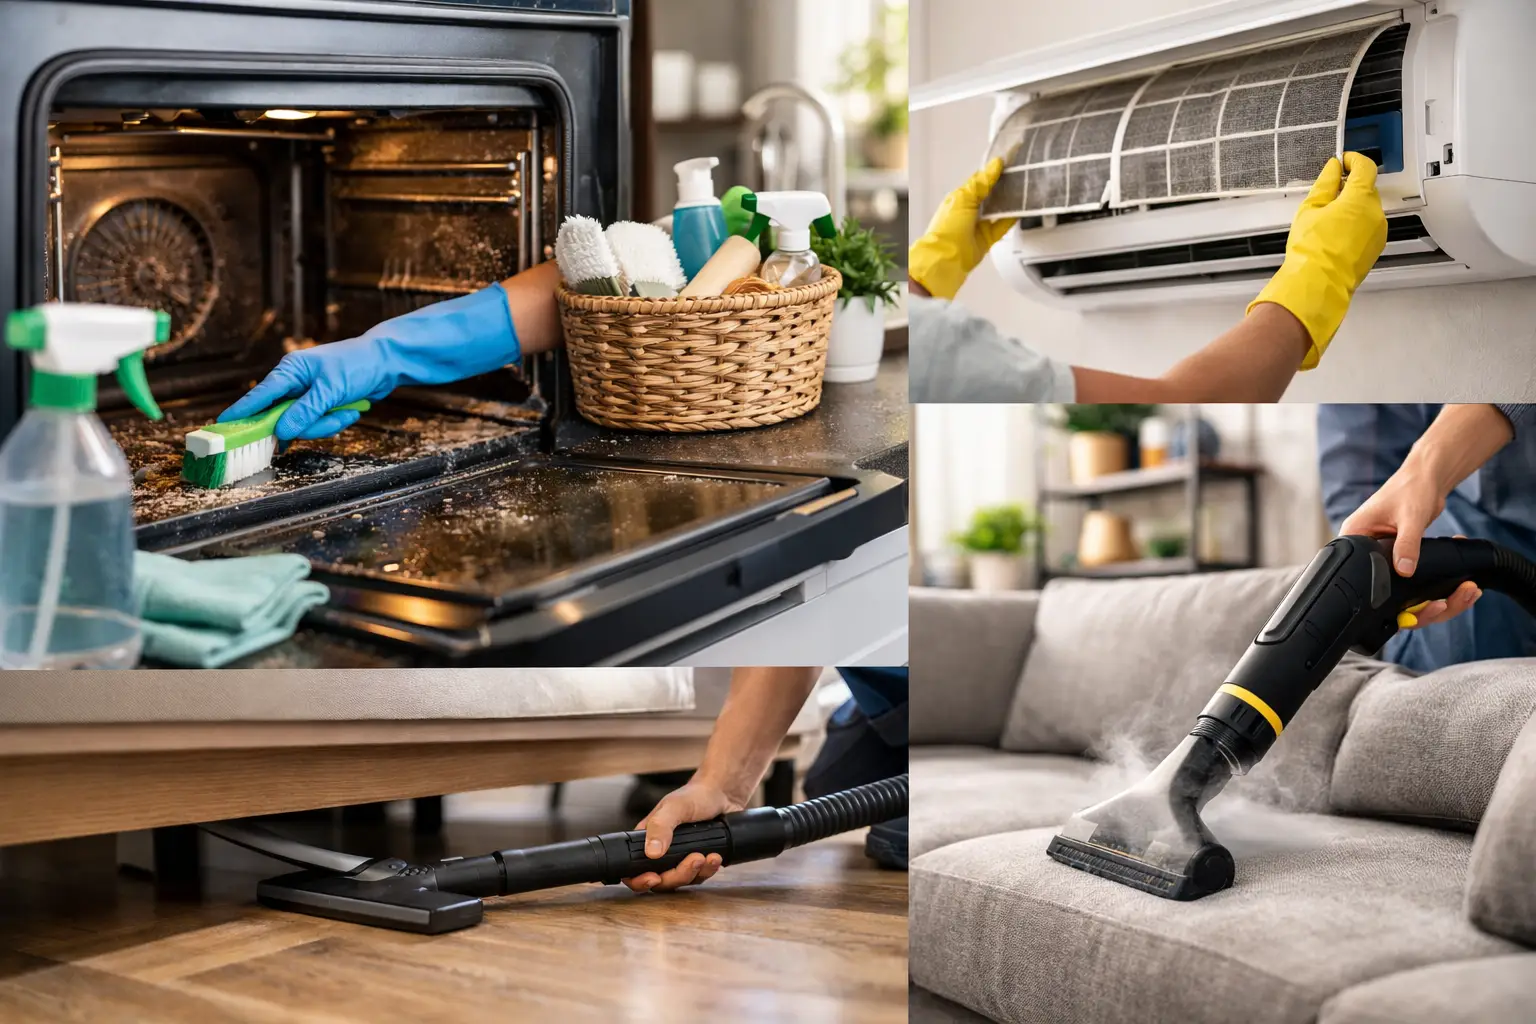
A HEPA-filter vacuum is one of the most useful tools for this job. Unlike a standard vacuum that may exhaust fine particles back into the room, a quality HEPA vacuum is designed to capture very small dust particles. Use a soft brush attachment for walls, trim, blinds, shelves, and upholstery. Use crevice tools around baseboards, window tracks, cabinet hinges, and floor edges.
Do not dry sweep fine construction dust. A broom pushes particles into the air and can scratch newly installed flooring when grit is dragged across the surface. For the same reason, avoid aggressive scrubbing until loose dust has been vacuumed away.
Clean Walls, Trim, and Finished Surfaces Gently
Walls often hold more dust than they appear to. A fresh coat of paint can look dull or streaky when drywall dust settles on it, especially near corners and trim. Start by vacuuming with a clean, soft brush attachment. Follow with a dry microfiber cloth or a lightly damp microfiber mop designed for walls.
Use only minimal moisture. Oversaturating drywall, unfinished wood, or newly painted surfaces can cause damage or leave marks. If a surface needs more than a light wipe, test your cleaning solution in an inconspicuous area first. A mild, eco-conscious cleaner is usually suitable for sealed hard surfaces, but product choice depends on the finish.
Glass, mirrors, metal fixtures, and appliance exteriors may need more than one pass. The first pass removes dust. The second removes fingerprints, residue, or streaks. Changing microfiber cloths frequently is not optional here. Once a cloth is loaded with fine grit, it stops cleaning effectively and may scratch shiny surfaces.
Pay Special Attention to Floors
New floors deserve patience. Fine grit can damage hardwood, vinyl plank, laminate, tile, and polished concrete if it is rubbed under shoes, mops, or vacuum heads.
Vacuum the entire floor slowly, including edges, corners, and transitions between rooms. Use a hard-floor setting or a soft floor attachment rather than a rotating brush that could scratch delicate finishes. After vacuuming, use a clean microfiber mop with a small amount of manufacturer-approved floor cleaner. Rinse or replace the mop pad as soon as it looks gray or gritty.
Carpet requires repeated HEPA vacuuming in several directions. Construction dust settles deep into fibers and can continue rising to the surface for days. If the carpeting was exposed during extensive renovation work, professional carpet cleaning may be worthwhile after dry vacuuming. Hot-water extraction or other professional methods can remove embedded fine particles that a vacuum does not fully reach.
Do Not Forget Vents, Filters, and Hidden Areas
The dust you can see is only part of the job. HVAC vents, returns, filter grilles, ceiling fans, closet shelves, window tracks, and the space behind appliances can hold a surprising amount of debris.
Vacuum vent covers and wipe them with a damp microfiber cloth before reinstalling them. Replace disposable HVAC filters or have reusable filters cleaned according to the manufacturer instructions. If there was substantial drywall sanding, demolition, or sawdust throughout the home or workplace, consider having the ductwork assessed by a qualified provider. It depends on the scale of the project and whether the system ran while work was underway.
Open every cabinet, drawer, closet, and appliance compartment. Even when these areas were taped off, fine particles can enter through small gaps. Vacuum first, then wipe from the back of the space toward the front. This is especially useful in kitchens, where dust can settle on dishes, cookware, food storage containers, and inside newly installed cabinetry.
Wash Fabrics and Soft Furnishings
Dust settles into curtains, area rugs, upholstered furniture, bedding, and fabric lampshades. Vacuum upholstery with the proper attachment, including cushions, seams, and underneath removable cushions. Launder washable linens, throws, and curtains according to their care labels.
For delicate fabric, large rugs, or upholstery with visible renovation residue, professional cleaning is the safer choice. Water, cleaning products, and vigorous brushing can set stains or alter the appearance of certain materials. A trained cleaner can identify the fabric type and use the appropriate method.
Plan for More Than One Cleaning Pass
A single cleaning session is rarely enough after a major project. Dust continues settling after the first pass, particularly in rooms with lots of trim, open shelving, textured walls, or active HVAC circulation. Plan a detailed initial cleaning, then return 24 to 48 hours later for a lighter follow-up clean.
During the second pass, focus on horizontal surfaces, floors, windowsills, vents, and areas that were hard to access while larger debris was present. This follow-up is often what makes a renovated space feel truly finished rather than merely worksite-clean.
When Professional Post-Renovation Cleaning Makes Sense
A small bathroom refresh may be manageable with time, proper equipment, and careful attention. A whole-home renovation, commercial build-out, or project involving drywall sanding, concrete dust, paint overspray, or multiple trades is a different level of work.
Professional post-renovation cleaning can save time and reduce the risk of scratching new finishes or overlooking dust trapped in vents, cabinetry, and flooring. It is particularly helpful when a move-in date, inspection, opening day, or property handoff is approaching. Insured, trained cleaners also bring the right tools for high-detail work, including HEPA filtration and surface-specific cleaning methods.
For homeowners, renters, property managers, and local businesses in Hamilton, Get It Done Cleaning Services can provide detailed post-renovation cleaning that helps turn a completed project into a clean, comfortable space ready to use.
The best final check is simple: run a clean white microfiber cloth across a windowsill, counter, or baseboard. If it comes away dusty, the space needs another gentle pass. Taking that extra step protects the work you just invested in and lets the finished room look the way it was meant to look.