A greasy oven rarely gets that way from one big spill. It builds up quietly: a little splatter from roasting chicken, smoke from an overfilled casserole, and residue left behind every time the oven heats up. Learning how to clean greasy ovens before that residue hardens can reduce smoke, unpleasant odors, and the risk of grease catching fire during cooking.
The good news is that most oven grease can be removed without aggressive scraping or harsh fumes. The right method depends on how long the grease has been there, the type of oven you own, and whether you are dealing with the interior, racks, door glass, or all three.
Start With Safety and the Right Supplies
Turn the oven off and allow it to cool completely. If you have a gas oven, make sure the pilot area and burners stay dry. Remove oven racks, thermometers, baking stones, and any loose debris before applying a cleaner.
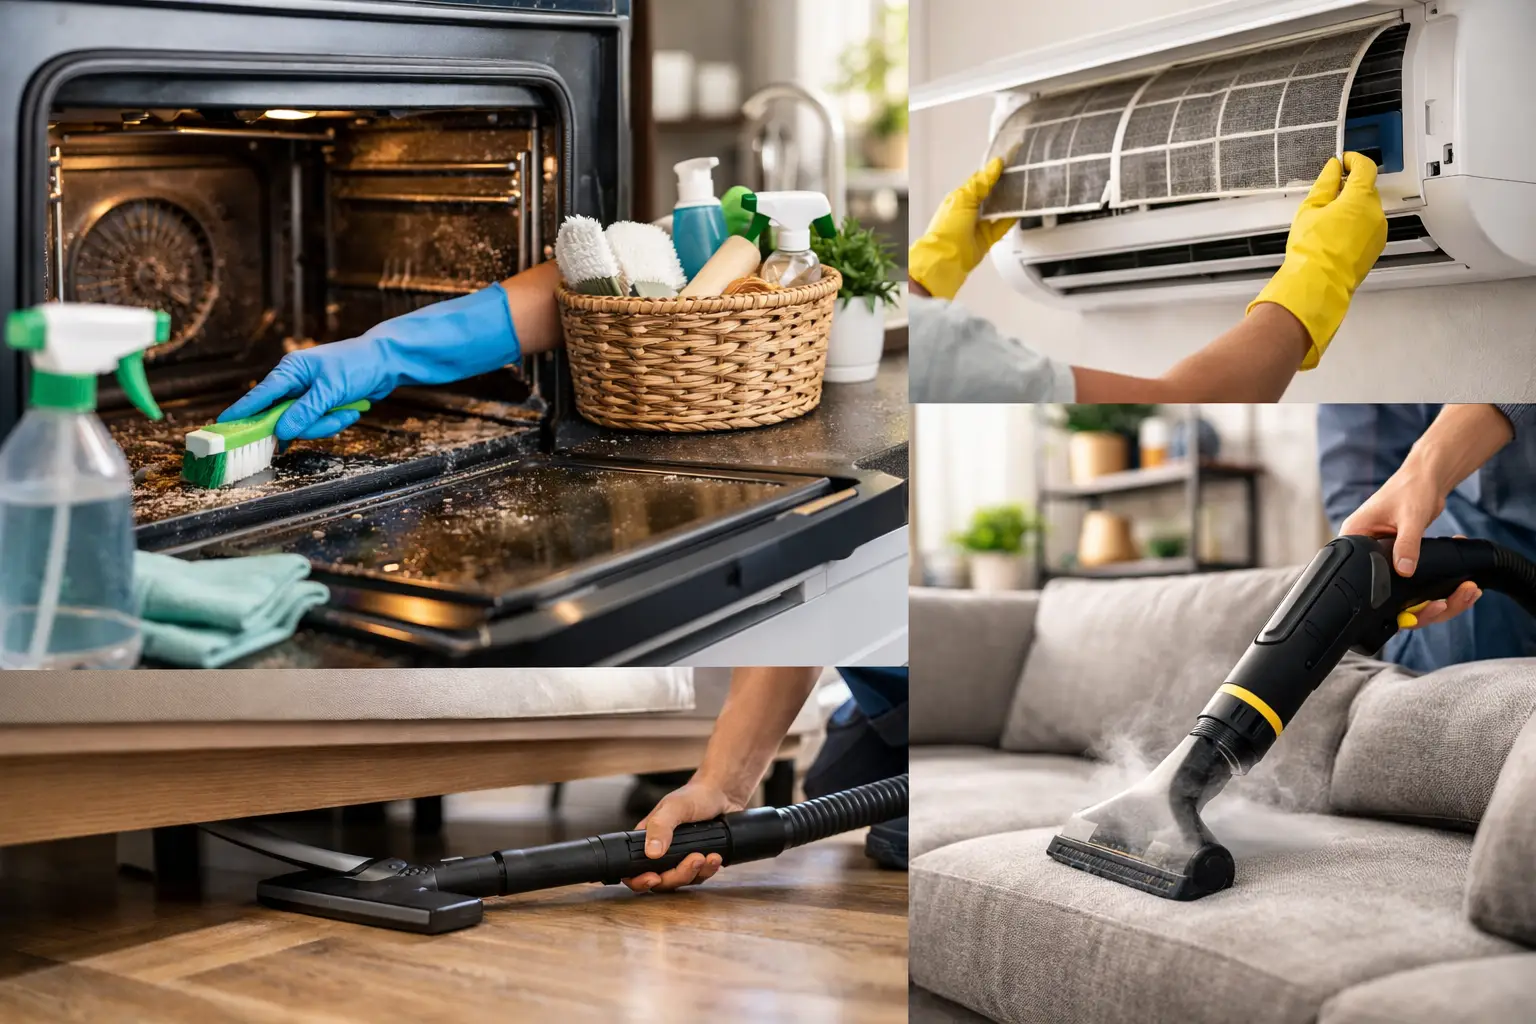
For routine grease, you will usually need baking soda, warm water, dish soap, a spray bottle, a non-abrasive sponge, microfiber cloths, rubber gloves, and a plastic scraper or old plastic card. A commercial oven cleaner can be useful for heavy, baked-on buildup, but choose one made for your oven surface and follow its label directions carefully.
Avoid steel wool, razor blades, and highly abrasive scouring pads. They can scratch enamel interiors and oven glass, leaving surfaces harder to clean over time. Never mix cleaning products, especially ammonia, bleach, vinegar, or commercial degreasers. Combining cleaners can create unsafe fumes or damage surfaces.
How to Clean Greasy Ovens With Baking Soda
Baking soda works well for normal to moderately heavy grease because it lifts residue gradually instead of relying on strong chemical fumes. It does require patience, so it is best done when you can leave the oven unused overnight.
Make and Apply a Cleaning Paste
Combine about one-half cup of baking soda with a few tablespoons of water. Add water slowly until the mixture becomes a spreadable paste, similar to frosting. If the oven has a strong greasy smell, a small amount of dish soap can help cut through the surface oil.
Wearing gloves, spread the paste over the cooled oven interior. Focus on the bottom panel, side walls, back wall, and the inside of the door. Do not coat heating elements, vents, fan openings, seals, ignition components, or the oven light. These areas need a gentler touch and should not be saturated.
Let the paste sit for at least 8 to 12 hours. This dwell time matters. Fresh grease may come off quickly, but baked-on residue needs time to soften before you start wiping.
Wipe Away the Loosened Grease
Use a damp microfiber cloth or non-abrasive sponge to remove the paste. For stubborn spots, use a plastic scraper with light pressure rather than repeatedly scrubbing one area. Rinse and wring out your cloth often so you are lifting grease away instead of spreading it around.
If a light white film remains, mist a cloth with a small amount of vinegar and wipe the surface. The mild reaction helps remove leftover baking soda. Do not spray vinegar directly onto electrical parts, heating elements, or vents.
A heavily neglected oven may need a second treatment. That is normal. Trying to force all buildup off in one session is more likely to damage the finish than a second, controlled cleaning.
Clean Oven Racks Separately
Oven racks collect a stubborn combination of grease, carbon, and food particles, especially near the front where drips and spills are common. Removing them first makes the interior much easier to reach.
Place racks in a protected bathtub, large utility sink, or heavy-duty storage bin. Line the tub with an old towel first to prevent scratches. Cover the racks with very warm water and add dish soap or a gentle degreasing cleaner. Let them soak for several hours, then scrub with a non-abrasive pad or nylon brush.
For racks with thick baked-on residue, apply baking soda paste after soaking and allow it to sit another 30 minutes. Rinse thoroughly and dry completely before putting the racks back in the oven. Wet racks can leave marks or create moisture where it does not belong.
If bathtub soaking is not practical, wrap each rack in a warm, damp towel after applying a degreaser. The moisture helps the product continue working while reducing the need for heavy scrubbing.
Tackle Greasy Oven Door Glass Carefully
The inside of the oven door often looks worse than the rest of the appliance because grease bakes onto the glass at every use. Use the same baking soda paste, but keep it slightly thicker so it does not run into the door edges.
Spread the paste across the glass and let it sit for 20 to 30 minutes. Wipe it away with a soft, damp cloth, then dry with a clean microfiber cloth. For stuck-on spots, use a plastic scraper held nearly flat against the glass. Do not use a metal blade unless your oven manufacturer specifically permits it.
If grease appears between the glass panes, resist the temptation to take apart the door unless you have the manufacturer instructions and are comfortable doing so. Oven doors are heavier and more complicated than they look. A professional appliance cleaning service can address difficult areas without risking damage to hinges, glass, or seals.
When a Commercial Oven Cleaner Makes Sense
Baking soda is a dependable option, but it is not always the fastest one. A commercial oven cleaner may be appropriate when grease has become black, sticky, and heavily carbonized, or when the oven needs to be ready for a move-out, rental turnover, or holiday gathering.
The trade-off is stronger odor and more care during use. Open windows, wear gloves, and keep children and pets away from the area. Never use a commercial cleaner inside a self-cleaning oven unless the appliance manufacturer says it is safe. The coatings used in self-cleaning models can react poorly to the wrong product.
Follow the product’s contact-time instructions exactly. Leaving a chemical cleaner on too long does not necessarily deliver better results. It can discolor finishes, weaken seals, or leave residue that causes odors when you next heat the oven.
Should You Use the Self-Cleaning Cycle?
A self-cleaning cycle uses extremely high heat to burn residue into ash. It can be useful for light to moderate buildup, but it is not always the best answer for a very greasy oven. Heavy grease can create significant smoke, strong odors, and extra strain on appliance components during the cycle.
Before using it, wipe out loose food, pooled grease, and obvious spills. Check your owner’s manual for specific instructions, ventilation requirements, and restrictions. If your oven has been smoking during normal cooking or has a thick layer of grease on the bottom, manual cleaning first is usually the safer choice.
Keep Grease From Building Up Again
A quick wipe after the oven cools is far easier than a deep clean months later. Use a damp cloth and a small amount of dish soap after greasy meals, especially after roasting, broiling, or baking foods with cheese, sauces, or high-fat marinades.
Use a baking sheet beneath dishes that may bubble over, and avoid lining the oven floor or racks with foil unless your manufacturer explicitly allows it. Foil can interfere with airflow and heat distribution, and it may trap spills against the oven surface. For most households, a more thorough oven cleaning every three to six months is enough. Frequent cooks may need it more often.
When It Is Time to Call for Help
Professional cleaning is a practical choice when grease is layered throughout the oven, residue keeps smoking after cleaning, or you are preparing a home or rental for a move. It is also helpful when time is limited and the job requires detailed attention to racks, door glass, crevices, and the surrounding appliance exterior.
Get It Done Cleaning Services provides detailed appliance cleaning as part of deep-cleaning and transition cleaning work, helping homeowners, renters, and property managers restore kitchens without adding another demanding task to their schedule.
A clean oven makes everyday cooking feel easier, smells better, and helps protect the appliance you rely on. Address small spills early, use the gentlest effective method, and leave the toughest buildup to trained cleaning professionals when the job calls for extra care.