
Fresh paint, new flooring, and updated fixtures can make a room feel completely new. The fine powder left behind is another story. To remove renovation dust properly, you need more than a quick vacuum and a wipe-down. Construction dust settles in layers, travels through the air, and collects in places that are easy to miss, including vents, cabinet interiors, window tracks, and soft furniture.
A careful post-renovation cleanup protects your floors and finishes, improves indoor air quality, and lets you enjoy the work that was just completed without bringing dust into every room of the house.
Why Renovation Dust Needs a Different Approach
Renovation dust is not like everyday household dust. Drywall compound, sawdust, grout haze, insulation fibers, and fine debris from cutting or sanding can be extremely small. Those particles do not simply land on the nearest surface. They can remain airborne, move through open doorways and HVAC systems, then settle again after you think the room is clean.
The common mistake is starting with a broom, feather duster, or dry cloth. Each of these can push fine dust back into the air. A standard vacuum can also be a poor choice if it does not have a sealed system and HEPA filtration. Instead of capturing the finest particles, it may release them through the exhaust.
The goal is to capture dust gradually, from high surfaces to low ones, while limiting how much gets stirred up. It takes patience, but the method makes a visible difference and helps prevent repeated cleaning of the same space.
Prepare the Space Before You Clean
Before cleaning, give fresh paint, grout, caulk, or sealant the curing time recommended by the contractor or product manufacturer. Scrubbing too soon can dull a new finish, pull material from joints, or leave marks in paint that has not fully hardened.
Open windows when weather and site conditions allow, but do not rely on ventilation alone. If outdoor air is dusty, humid, or smoky, it can make cleanup harder. Turn off the HVAC system while heavy dust is being removed if practical, especially if return vents are uncovered. This reduces the chance of pulling particles into ductwork and distributing them throughout the property.
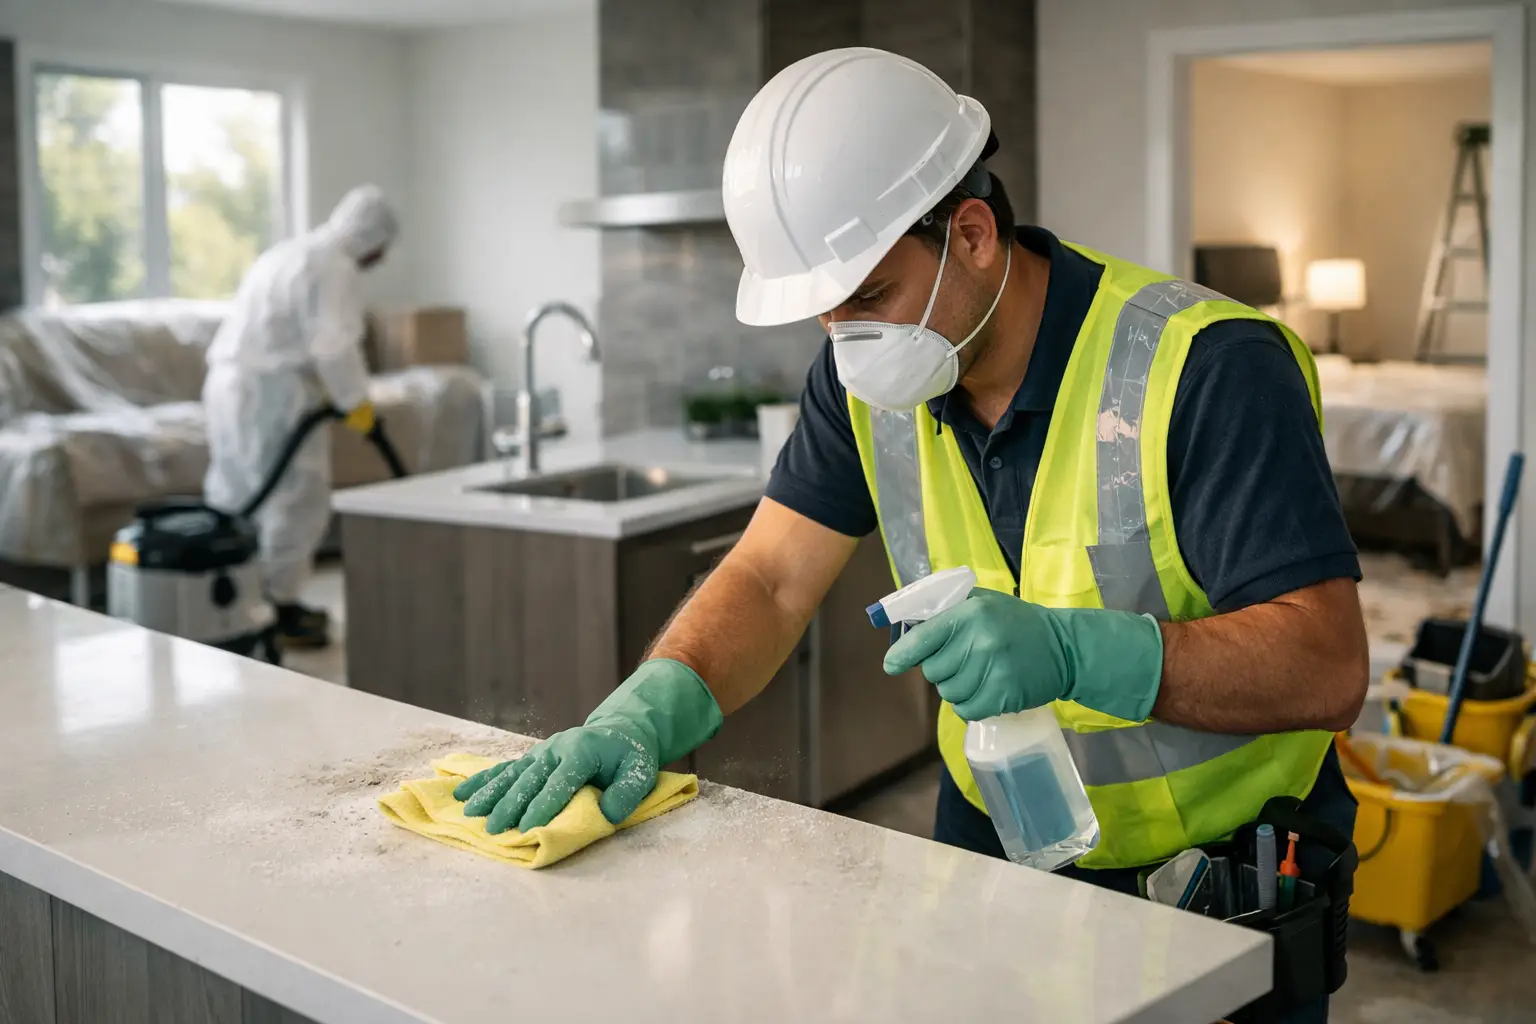
Wear a well-fitting dust mask, gloves, and eye protection for significant cleanup jobs. Keep children and pets out of the work area until the dust has been removed. If the renovation involved older materials, damaged insulation, lead-based paint, or possible asbestos-containing materials, stop and consult a qualified remediation professional. Those materials require specialized safety procedures, not routine cleaning.
Start by removing leftover construction materials, protective plastic, tape, cardboard, and large debris. Do this carefully. Rolling up dusty floor protection or shaking drop cloths indoors can release a fresh cloud of particles just as the cleaning begins.
How to Remove Renovation Dust Without Spreading It
The right cleaning order is simple: clean high surfaces first, then work downward, and finish with the floor. Cleaning a countertop before a dusty ceiling fan or light fixture only guarantees that the countertop will need attention again.
Start with ceilings, walls, and fixtures
Use a HEPA vacuum with a soft brush attachment to remove loose dust from ceilings, crown molding, light fixtures, upper walls, and trim. Use gentle passes rather than pressing hard against freshly painted walls or delicate surfaces.
After vacuuming, wipe painted walls and trim with a clean microfiber cloth that is only lightly dampened. Too much water can leave streaks and may affect paint that is still curing. Rinse or replace cloths often. A cloth that is already loaded with drywall dust will smear residue instead of lifting it away.
For recessed lights, vents, and detailed trim, a soft brush attachment is safer than forcing a cloth into small gaps. Always make sure light fixtures are cool and power is off before cleaning near electrical components.
Clean cabinets, counters, and hard surfaces
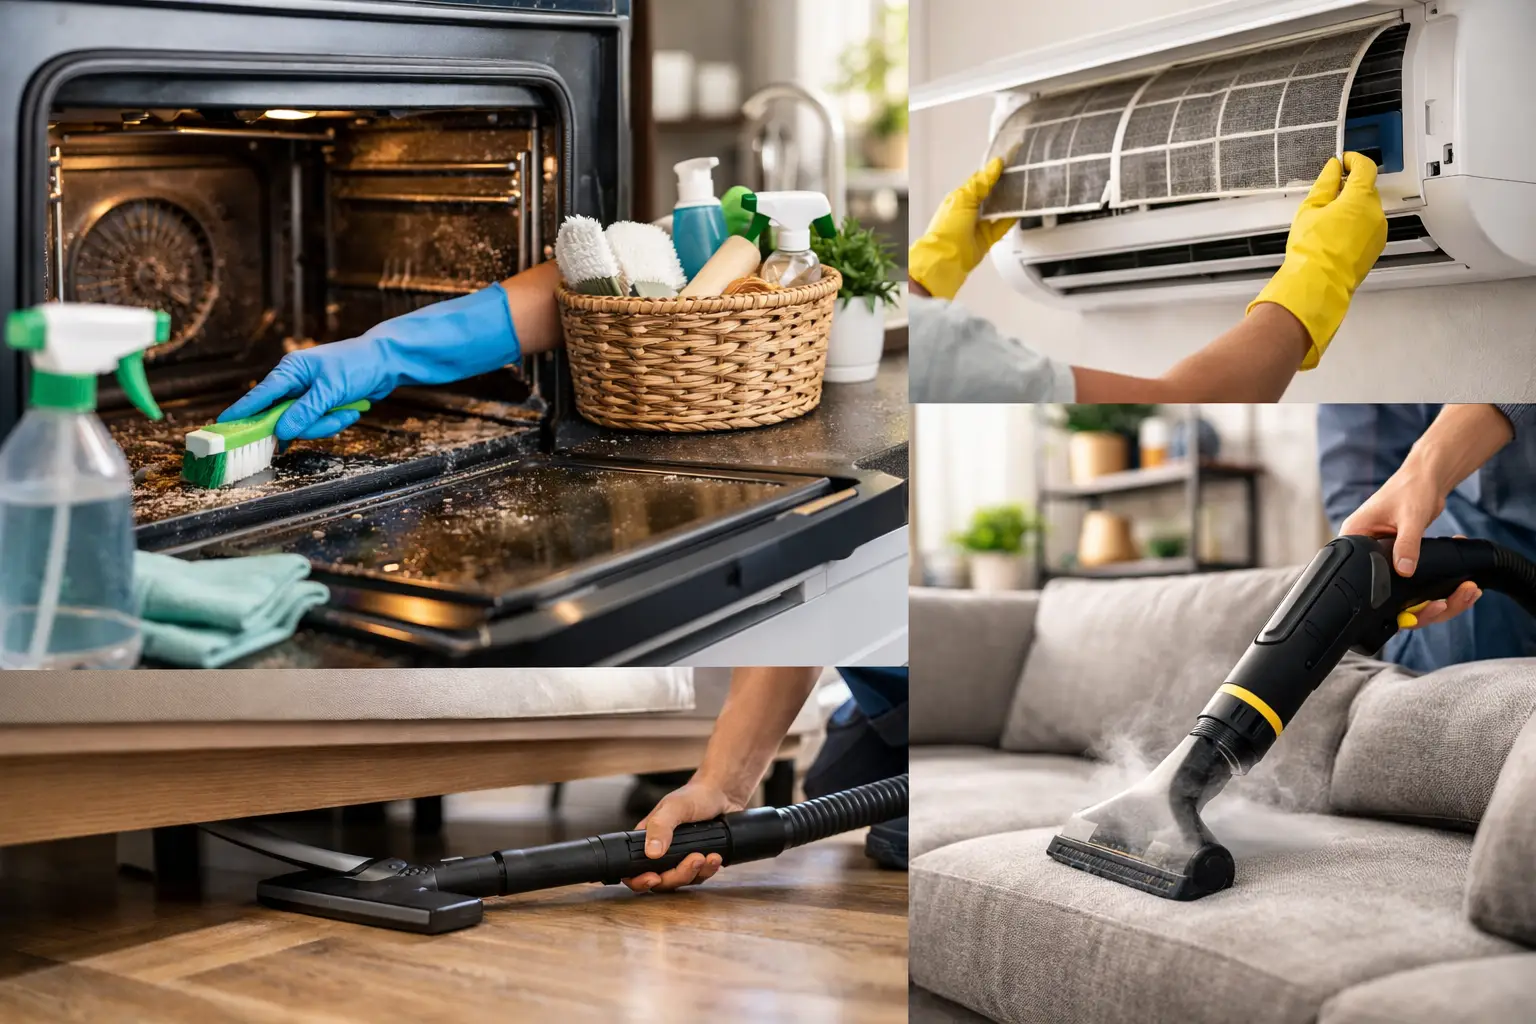
Open every cabinet, drawer, closet, and shelving unit in the renovated area. Dust frequently enters storage spaces during installation, even when doors were closed. Vacuum corners, hinges, drawer tracks, and shelf edges before wiping them with a damp microfiber cloth.
For countertops, use a cleaner appropriate for the surface. Natural stone, quartz, stainless steel, laminate, glass, and wood do not all respond well to the same product. A mild, non-abrasive cleaner is usually the safest starting point, particularly for new surfaces. Avoid scouring powders and harsh scrub pads that can scratch polished finishes or leave a hazy appearance.
Do not forget window sills, blinds, baseboards, door frames, switch plates, and appliance exteriors. These areas often hold a surprising amount of fine dust. Removing switch plate covers can be useful for a detailed cleanup, but only when it can be done safely and the power is off if needed.
Treat soft surfaces with extra care
Upholstered furniture, mattresses, area rugs, curtains, and fabric lampshades can trap renovation dust deep in their fibers. Vacuum upholstery slowly with the proper attachment, including cushions, seams, and the space beneath removable cushions. Vacuum area rugs from more than one direction to lift fine particles that have settled below the surface.
Wash removable curtains, cushion covers, and washable textiles according to their care labels. For delicate fabrics, professional cleaning may be the better option. Spraying fragrance products over dusty upholstery does not clean it. It can leave residue while the particles remain in place.
Finish with floors, then clean them again
Vacuum hard floors and carpets thoroughly using a HEPA-filtered vacuum. Work slowly along edges, under cabinets, behind doors, and around floor vents. For hard floors, follow with a damp microfiber mop and clean water or a floor-safe solution. Change the mop water as soon as it looks cloudy.
It is normal to need a second floor cleaning after the rest of the room is complete. Dust from upper surfaces settles while you work. In larger projects, a final vacuum and mop the following day can make the room feel noticeably cleaner.
Do Not Overlook HVAC Vents and Filters
Your heating and cooling system can carry renovation dust far beyond the room where work took place. Replace the HVAC filter after the project, then consider replacing it again after the final cleaning if the renovation produced heavy dust. Use the filter type recommended for your system rather than choosing the densest filter available, since an overly restrictive filter can affect airflow.
Vacuum vent covers and nearby register openings with a brush attachment. If you can see a thick dust buildup inside ductwork, smell persistent dust when the system runs, or notice dust returning quickly after cleaning, professional duct cleaning may be worth considering. It depends on the scale of the renovation and whether the vents were properly sealed during the work.
Portable air purifiers with true HEPA filters can also help capture remaining airborne particles in the days after cleanup. They are useful support, but they do not replace detailed cleaning of surfaces and floors.
When a Professional Post-Renovation Cleaning Is the Better Choice
A small painting project may be manageable with a careful weekend of cleaning. Whole-room renovations, kitchen remodels, basement finishes, commercial build-outs, and multi-room projects often require more time, equipment, and attention than expected.
Professional post-renovation cleaning is particularly helpful when fine dust has reached several rooms, flooring needs specialized care, the property must be ready for move-in, or the renovation schedule leaves little time for a detailed cleanup. Trained, insured cleaners can work through a structured checklist, clean detail areas that are easily overlooked, and use products suited to the surfaces in your home or business.
For homeowners, renters, property managers, and businesses in Hamilton, Get It Done Cleaning Services provides detailed post-renovation cleaning designed to turn a finished project into a clean, ready-to-use space.
Give the space one final walk-through in daylight. Run your hand along a high shelf, check the inside of a drawer, and look at floors from different angles. The last traces of dust tend to hide in exactly those places, and removing them is what makes the renovation feel truly complete.