Getting the keys back or leaving a good impression usually comes down to the details. A solid move out cleaning checklist guide helps you focus on the areas landlords, property managers, buyers, and new occupants notice first – and the small spots people often forget until the final walk-through.
Moving day already comes with enough pressure. The last thing most people want is to scrub baseboards at midnight or realize the inside of the oven still has baked-on grease. The smartest approach is to clean in a set order, room by room, with a clear standard for what “done” actually looks like.
Why a move out cleaning checklist guide matters
Move-out cleaning is different from regular weekly cleaning. It is less about surface tidying and more about resetting the space. That means cleaning inside appliances, wiping cabinet interiors, removing buildup from bathrooms, and dealing with dust that has been sitting behind furniture for months or years.
It also helps to understand the trade-off between speed and thoroughness. If your lease requires the unit to be returned in clean condition, a quick wipe-down may not be enough. On the other hand, if the home is already in good shape and you kept up with maintenance, you may only need a focused deep clean rather than an all-day project.
Start with a realistic plan
Before you touch a sponge, walk through the entire property with a trash bag, a notepad, and your phone camera. This step shows you what still needs attention and helps you catch damage, stains, or heavy buildup early. It is also the best time to decide what you can handle yourself and what may be better left to professional cleaners.
If possible, clean after the home is empty. Vacant rooms make it much easier to reach corners, clean floors properly, and spot dust on trim, walls, and vents. Trying to clean around packed boxes usually leads to missed areas.
Gather basic supplies before you begin. Most move-out jobs call for microfiber cloths, scrub brushes, a vacuum with attachments, a mop, an all-purpose cleaner, glass cleaner, a degreaser, baking soda, and a bathroom disinfectant. If you are working around pets, kids, or strong sensitivities, eco-friendly products are often the safer and more practical choice.
Kitchen cleaning checklist for move out
The kitchen usually takes the longest, mainly because grease and food residue build up slowly and hide in places you stop noticing.
Start with cabinets and drawers. Remove any crumbs, wipe down interiors, and clean the fronts, handles, and edges. Pay extra attention to the upper cabinets near the stove, where grease tends to settle. Countertops and backsplashes should be cleaned thoroughly, including corners and seams where crumbs collect.
The sink should be scrubbed until it is free of stains, soap residue, and food debris. Don’t forget the faucet base and drain area. A clean sink makes the whole kitchen look better immediately.
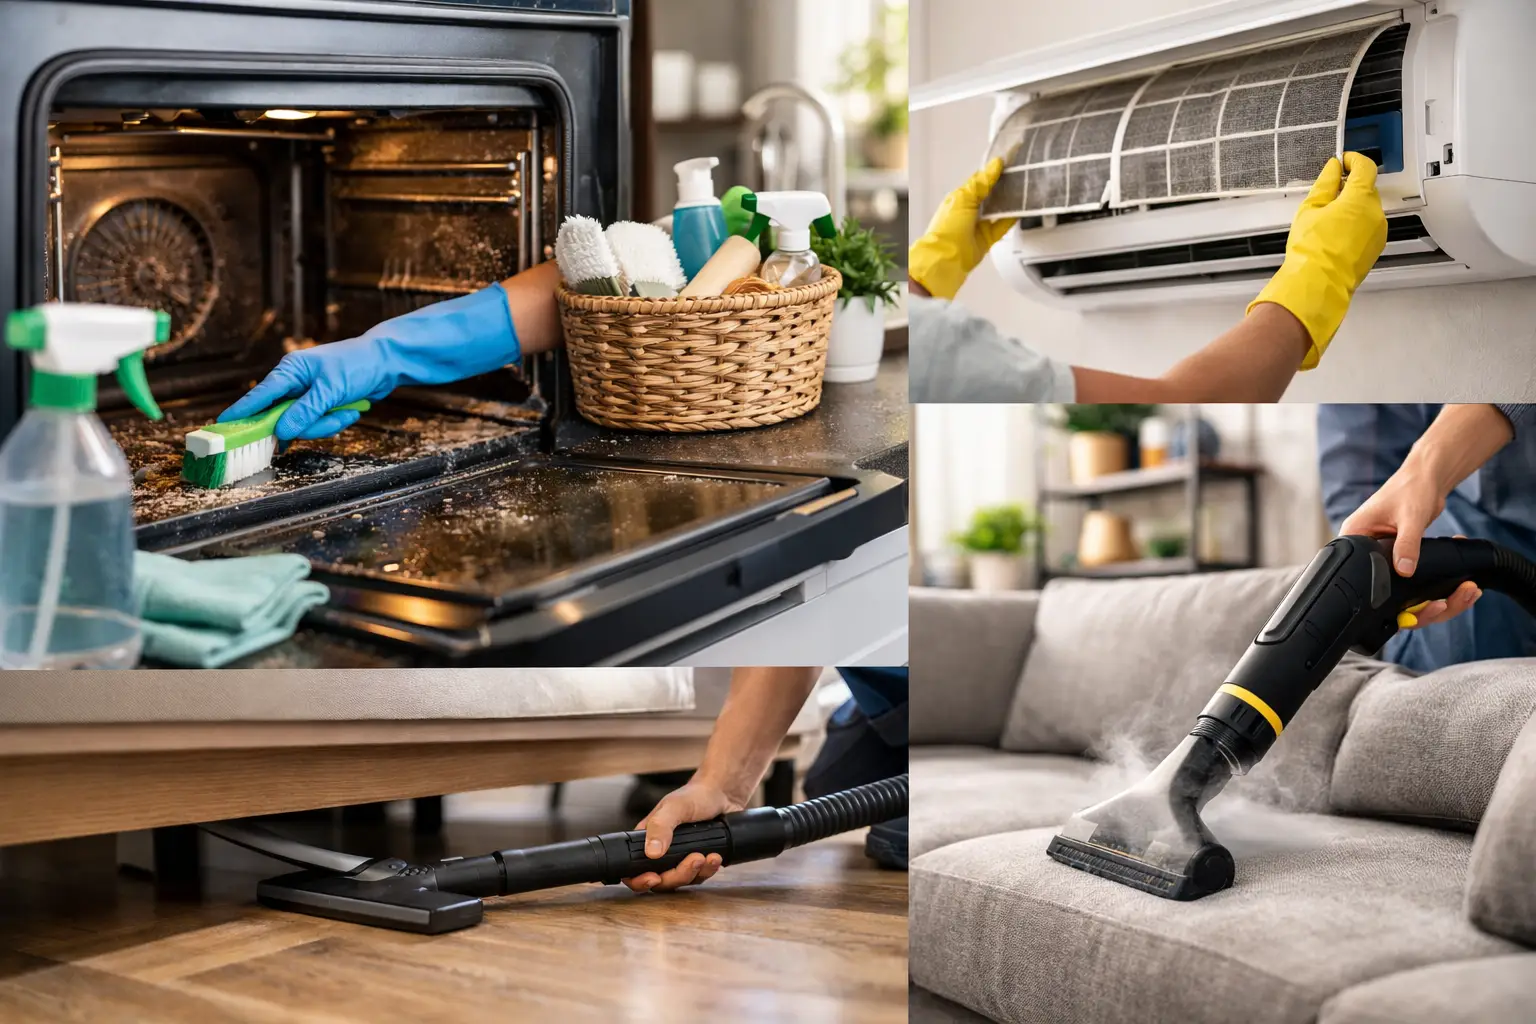
Appliances deserve more than a quick exterior wipe. Clean the refrigerator inside and out, including shelves, drawers, door bins, and handles. Leave it empty and odor-free. The oven should be degreased, with racks cleaned if needed, and the stovetop should be free of burnt residue. Wipe the microwave inside, especially the ceiling and turntable. If there is a dishwasher, run an empty cycle if appropriate and wipe around the seal and edges.
Finish by vacuuming and mopping the floor, especially under and behind movable appliances if you can safely reach those areas.
Bathroom cleaning checklist guide by priority
Bathrooms are usually judged fast. If there is soap scum on the shower door or buildup around the toilet base, people notice right away.
Start with the shower or tub. Remove soap residue, hard water spots, and hair from drains and corners. Clean tile, grout, fixtures, and any glass doors. If the grout is stained, you may need more than a basic cleaner.
The toilet should be cleaned inside the bowl, around the rim, behind the base, and around the seat hinges. The vanity, sink, and faucet should be polished and free of toothpaste marks or water spots. Wipe mirrors until streak-free, then clean drawers or cabinets if they are part of the rental or sale.
Walls and exhaust fans are often overlooked in bathrooms. Dust the fan cover and wipe any visible marks from walls, trim, and doors. Finish with the floor, making sure corners and edges are not left dusty.
Bedrooms and living areas
These rooms may seem simple, but they often hide the most dust. Once furniture is removed, marks on walls, dirt along baseboards, and debris in closet tracks become much more obvious.
Dust from top to bottom. That means ceiling fans, light fixtures, vents, shelves, trim, windowsills, and baseboards first. Then wipe doors, doorknobs, switch plates, and any built-in shelving. If your lease allows minor wall touch-ups, scuff marks may be removable with careful spot cleaning, but be cautious. Over-scrubbing can damage paint and create a bigger issue.
Closets should be emptied completely, vacuumed, and wiped down. If there are sliding doors, clean the tracks. Windows should be cleaned on the inside, and blinds should be dusted or wiped if they are staying with the property.
Carpeted rooms need a slow, thorough vacuum, including edges and corners. If there are visible stains or pet odors, standard vacuuming may not be enough. In that case, deeper carpet cleaning can make a big difference in the final result.
Don’t skip these commonly missed areas
A good move-out clean often comes down to the spots people forget because they are not part of everyday routines. These include baseboards, air vents, window tracks, door frames, light switches, outlet covers, and the tops of doors.
Also check behind the toilet, under sinks, inside medicine cabinets, around washer and dryer units, and around entry doors. Dust and grime in these areas tell a property manager or buyer that the cleaning was rushed.
If the home includes a laundry area, wipe the exterior of the machines, clean out lint, and sweep the floor. For garages, storage rooms, or utility spaces, remove all belongings and sweep thoroughly. These spaces do not have to look polished, but they should look empty, clean, and cared for.
How to work faster without cutting corners
The best way to save time is to clean in stages instead of bouncing between rooms. Start by removing trash and leftover items from the whole property. Then do all dusting, then all surface cleaning, then appliances and bathrooms, and finally floors. This keeps dirt from falling onto areas you already cleaned.
It also helps to leave floors for last in every room. Vacuuming too early usually means doing it twice.
If time is tight, prioritize the areas tied most closely to inspection standards: kitchen appliances, bathrooms, floors, cabinets, and visible dust on trim and fixtures. Decorative perfection is less important than hygiene, residue removal, and overall condition.
When professional move-out cleaning makes more sense
Sometimes a DIY clean is enough. Sometimes it is not. If you are juggling packing, paperwork, kids, pets, or a tight handoff date, hiring a professional team can be the more affordable choice when you factor in time, supplies, and the risk of missing something important.
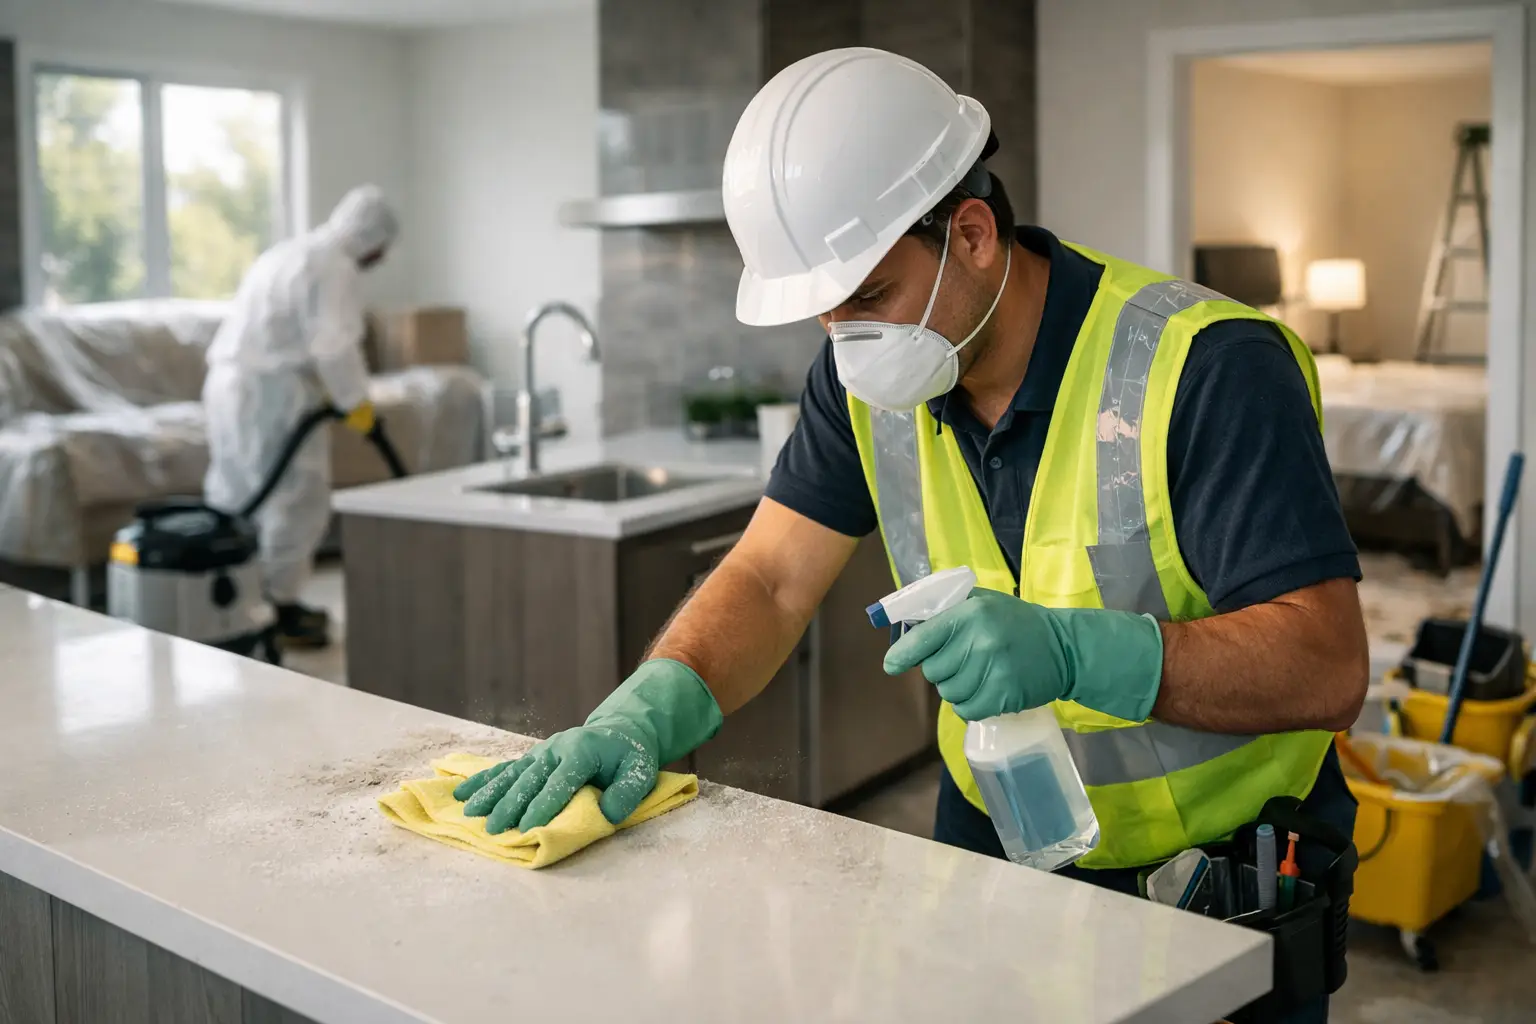
This is especially true for larger homes, properties with pets, long-term buildup, post-renovation dust, or units that need carpet, appliance, or deep bathroom cleaning. A trained and insured team follows a structured process, works faster, and knows where property managers usually look first. That kind of detail can take a lot of pressure off the final days of a move.
For renters and homeowners in Hamilton, Get It Done Cleaning Services is the kind of trusted local option that fits this situation well – especially when the goal is spotless results without last-minute stress.
A final move out cleaning checklist guide before you leave
Before locking up, walk through the home one last time with fresh eyes. Open cabinets, check inside appliances, turn on lights, and look at each room from the doorway. This final pass helps you catch streaks on mirrors, crumbs in drawers, dust in corners, or trash left behind.
A clean move-out is not about making the place look staged. It is about leaving it sanitary, respectful, and ready for the next person. When you follow a clear checklist and give extra attention to the details, the entire move feels more finished – and a lot less stressful.