Fresh paint looks great. Fine drywall dust on every surface does not. If you’re wondering how to clean after renovation, the real challenge is not just making the space look presentable. It is removing the layers of dust, residue, and construction debris that settle into vents, trim, floors, and fabrics long after the contractors leave.
Post-renovation cleaning takes more care than a standard tidy-up. The wrong approach can spread dust into clean rooms, scratch new finishes, or leave behind particles that affect air quality. A good plan helps you protect the work you just paid for and get the space truly ready to use.
Why post-renovation cleaning is different
Renovation mess is not regular household dirt. It usually includes drywall dust, sawdust, grout haze, paint splatter, adhesive residue, caulk smears, and packaging debris. Some of it is obvious, but the most frustrating part is the dust you do not see right away.
That dust travels. It settles on top of doors, inside cabinets, along baseboards, in light fixtures, and inside HVAC vents. Even a small bathroom remodel can leave a thin film throughout nearby rooms. That is why cleaning after renovation needs to be systematic, not rushed.
How to clean after renovation without making a bigger mess
The order matters. If you start wiping surfaces before removing loose debris and high dust, you will keep recontaminating the room. If you vacuum floors too early, dust from shelves, walls, and trim will just fall back down.
Start by opening windows if weather allows and the space is safe to ventilate. Then remove large debris, empty boxes, tape, protective plastic, and contractor leftovers. Be careful with nails, sharp tile pieces, and broken materials. Heavy debris may need separate disposal depending on local rules.
Next, work from top to bottom. Ceiling corners, vents, light fixtures, tops of cabinets, window frames, and door trim should all be addressed before countertops and floors. This one habit saves time and gives better results.
Step 1: Dry dust first
Use a microfiber duster or dry cloth to capture loose dust on high and delicate surfaces. A vacuum with a HEPA filter and soft brush attachment is often the safest choice for vents, sills, trim, and corners. Regular vacuums can blow fine particles back into the air, which is one reason renovation cleanup can feel never-ending.
Walls may also need attention, especially near sanding or cutting areas. In many cases, a dry microfiber mop or cloth works better than a wet wipe at first. Wet cleaning too soon can turn drywall dust into a paste that is harder to remove.
Step 2: Clean surfaces in sections
Once loose dust is under control, wipe surfaces with a damp microfiber cloth and a gentle cleaner that matches the material. Counters, shelves, cabinet fronts, doors, and trim all need a detailed pass. Rinse cloths often. Otherwise, you are just moving dust around.
This is where people usually notice the small renovation marks left behind. Paint drips on hardware, caulk residue on tile edges, adhesive on windows, and fingerprints on new fixtures are common. Go slowly. New finishes can scratch more easily than expected, especially glass cooktops, stainless steel, polished stone, and glossy cabinetry.
Step 3: Address floors last
Floors collect everything, so they should be one of the final steps. Vacuum thoroughly using the right setting for the material. Then mop or wash based on the floor type.
Hardwood needs a light touch and minimal moisture. Tile often needs extra attention to remove grout dust or haze. Vinyl and laminate should be cleaned with products that will not dull the finish. If carpet was exposed during the renovation, vacuuming alone may not be enough. Fine dust settles deep into fibers and padding, which is why post-renovation carpet cleaning is sometimes worth doing right away.
The areas people miss most often
A room can look clean at first glance and still hold a surprising amount of renovation dust. The missed areas are usually the ones that affect comfort the most once you move back into the space.
Air vents and returns are a big one. If dust has settled there, your HVAC system can keep circulating it. Inside drawers and cabinets are another common problem, especially if they were installed or adjusted during the project. Light fixtures, ceiling fan blades, window tracks, and baseboards also tend to hold more dust than expected.
If appliances were moved or installed, clean behind and around them before regular use. That includes under the refrigerator, around the washer and dryer, and around the stove. Renovation debris in these spots can create odor, affect performance, or simply make a newly finished room feel unfinished.
Choosing the right cleaning products
Post-renovation cleaning is one of those jobs where stronger is not always better. Harsh chemicals can damage fresh paint, strip sealants, dull stone, or react badly with certain surfaces. In many cases, microfiber cloths, warm water, and a mild surface-safe cleaner do the job better.
For glass and mirrors, use a streak-free glass cleaner after the dust is removed. For adhesive residue, test a small hidden spot first before using any specialty remover. For natural stone, avoid acidic products unless the manufacturer specifically allows them. If you are not sure what was installed, ask the contractor or check the product care instructions before cleaning.
Eco-friendly products are a smart choice here, especially in homes with kids, pets, or sensitive occupants. After renovation, indoor air can already feel heavy. Using low-residue, low-odor products helps the home feel fresher faster.
When DIY works and when it does not
Some renovation cleanup is manageable on your own, especially if the project was small and contained to one room. A powder room refresh, a single feature wall, or a flooring update in an empty space may only need a careful half-day of cleaning.
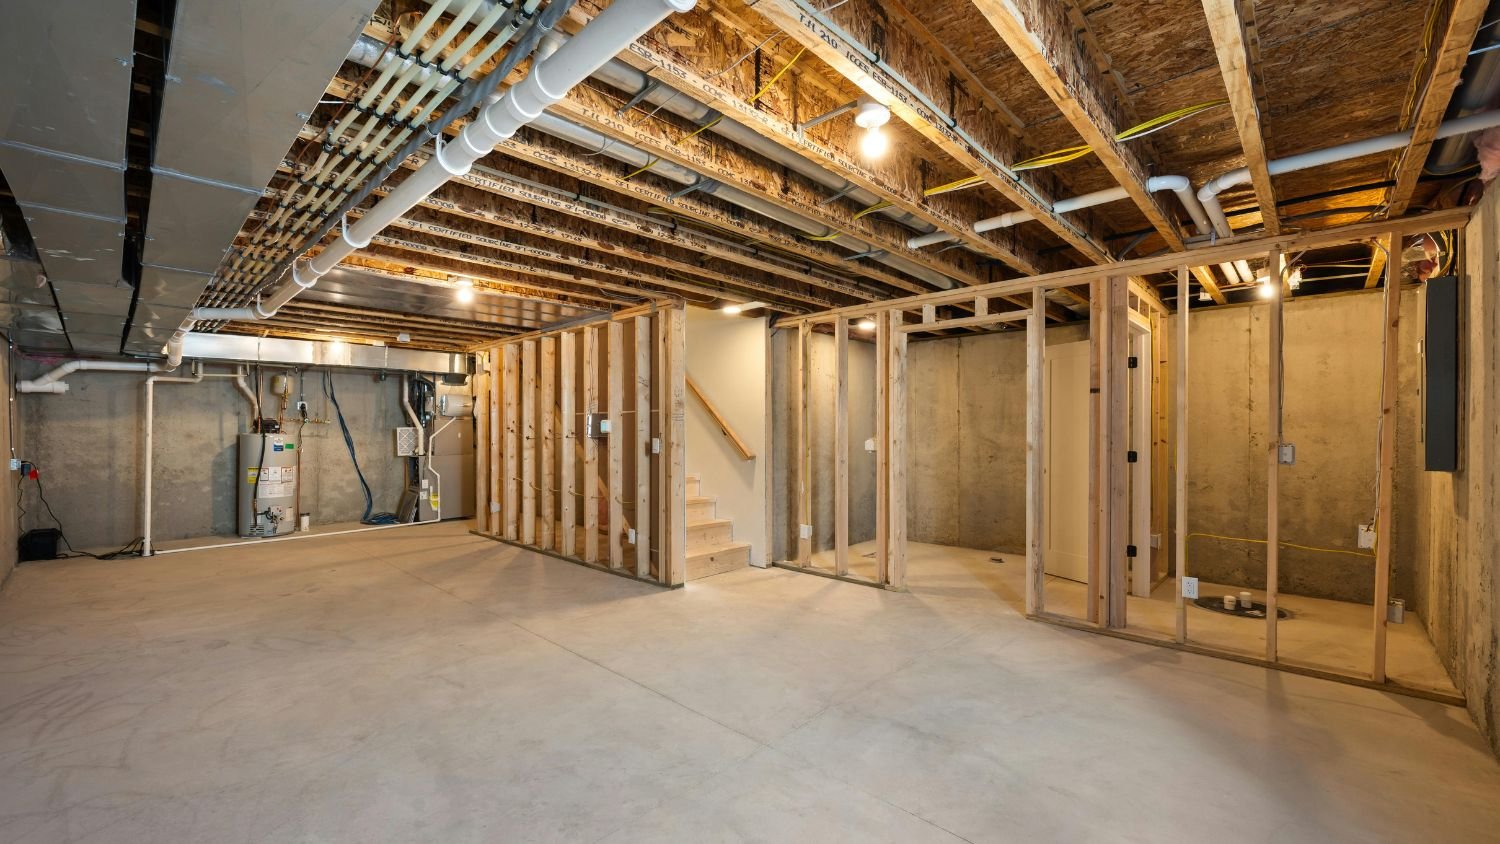
But larger jobs are different. Kitchen remodels, basement finishing, multi-room painting, tile work, and commercial build-outs tend to create dust that spreads farther than most people expect. If the property is occupied, timing also matters. Families, tenants, and business owners often need the space usable again quickly.
That is where professional post-renovation cleaning makes sense. A trained team can work through a checklist, use the right tools for fine dust, and clean efficiently without missing the details. For property managers and business owners, it also reduces the risk of handing over a space that still feels dirty despite being newly renovated.
A realistic timeline for cleaning after renovation
One mistake people make is trying to do everything in a single fast pass. Renovation dust often settles again after the initial cleanup, especially if contractors finished recently or the HVAC has been running.
For that reason, it can help to think in phases. The first phase removes debris and heavy dust. The second handles detailed wiping, spot cleaning, and floors. A light follow-up clean a day or two later often catches the last film of dust on horizontal surfaces.
If you are moving into the space right away, prioritize kitchens, bathrooms, sleeping areas, and any room with upholstered furniture. Those are the zones where leftover dust becomes noticeable fastest.
How to keep the mess from spreading next time
If your project is still in progress, a few preventive steps can make final cleaning easier. Seal off work zones with plastic barriers, cover vents where appropriate, and keep windows or ventilation running when safe. Daily debris removal by contractors also makes a difference.
For occupied homes, it helps to remove soft goods from nearby rooms or at least cover them well. Rugs, curtains, bedding, and upholstered chairs collect dust quickly. Even with precautions, some transfer is unavoidable, but the cleanup becomes much more manageable.
For homeowners and businesses in Hamilton who want spotless results without losing a weekend to dust control, a professional post-renovation service can take the space from almost done to fully ready. That is often the difference between a room that looks renovated and one that actually feels clean, healthy, and complete.
A finished renovation should feel like a fresh start, not one more job on your list. Clean patiently, protect the new surfaces, and if the dust keeps coming back, bring in help so you can enjoy the space the way it was meant to be used.